Zoho Mail application for your online shop
We are constantly trying to provide our customers with the best affordable system components therefore we have found a reliable partner who is ready to provide you with the newest technologies at no costs. For optimal email solutions we cooperate with Zoho.com. If you do not have your own email solution, i.e. basing on existing hosting accounts, we offer full support for the process of creating an account on ZohoMail.
Zoho Mail application is more than email. It includes:
- email in a domain – with an excellent anti-spam filter, awesome webmail interface and access through POP3 and SMTP. Additional attributes useful when conducting an online shop are the mechanisms of labels, filters and search tools.
- Office Docs (spreadsheet, word processor and online presentation application)
- Calendar (eliminating Microsoft Exchange)
- Contacts (eliminating Microsoft Exchange)
- Network Drive – Zoho Docs – providing unlimited space for any files or pictures
- Zoho Chat – instant chat
- Zoho Notes - web notebook
- Zoho Tasks - task manager
How to get started and open an account in a shop's domain?
If you have already redirected your own domain and you do not have an email solution implemented yet, or you just want to delegate a domain and your are wondering which operator of email to choose, the below guide is for you.
Solution recommended by us is ZohoMail whoch offers vast possibilities.
To create an account on ZohoMail, go to https://www.zoho.com/mail/
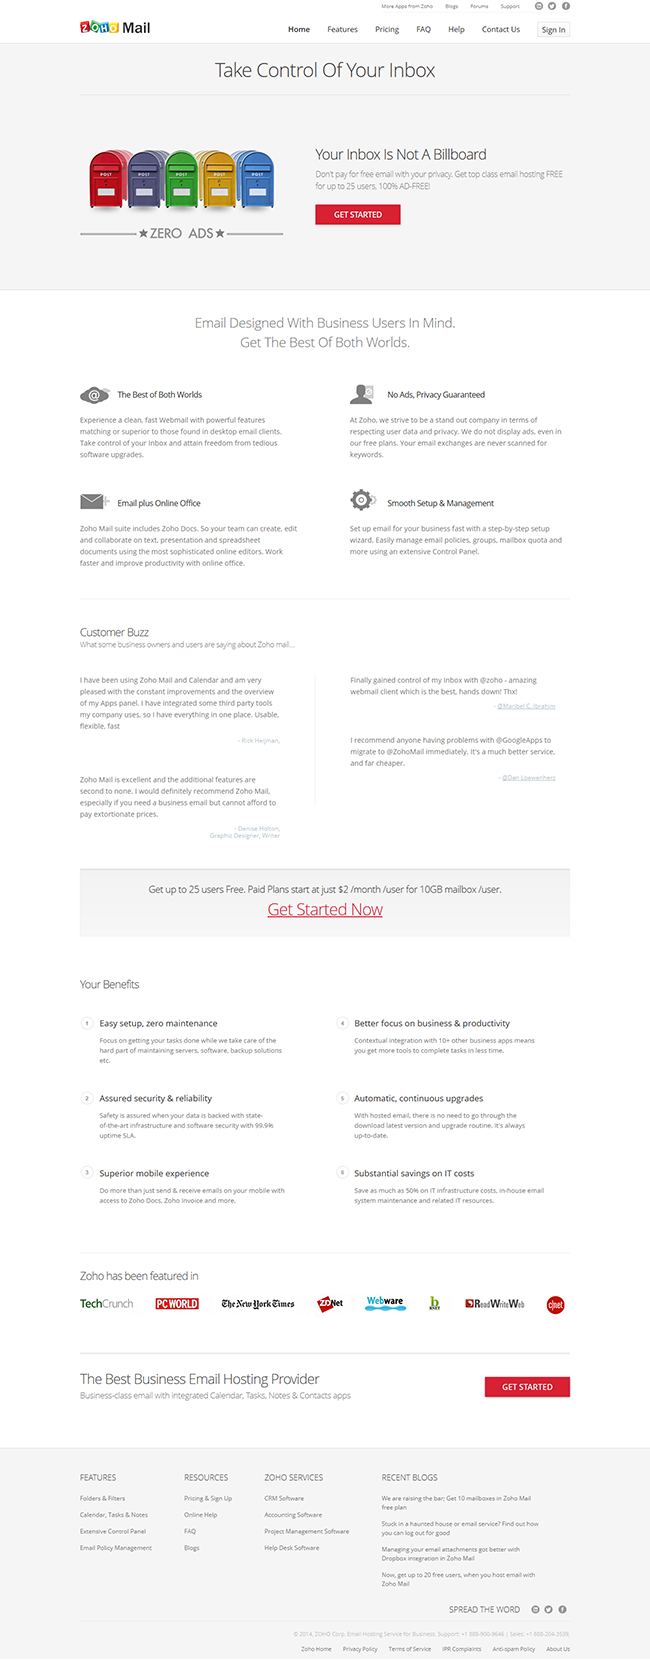
Pic. 1 ZohoMail Homepage
You can register or sign in with an already existing account.
After reading all information on the page, click on any Get Started button highlighted in red.
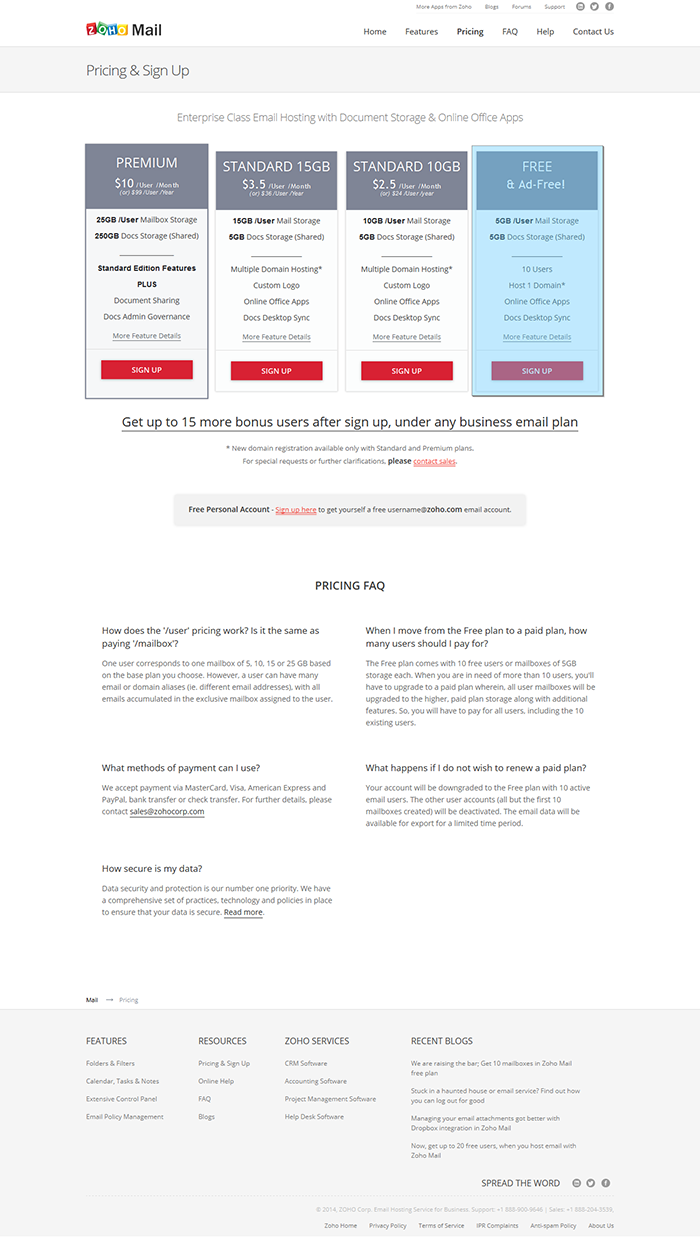
Pic. 2 First step of registration - selecting a plan
In the first stage select a plan which you want to use. Of course, in case of the free account, a plan that you should select is FREE & Ad-Free! Afterwards click on SIGN UP.
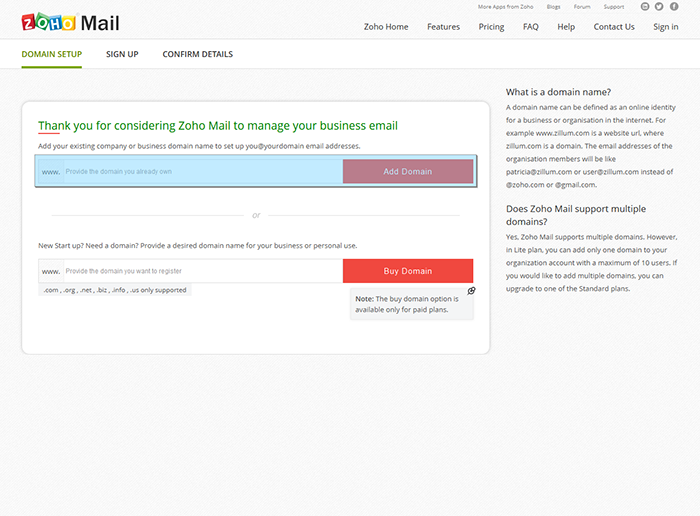
Pic. 3 Second step of registration - selecting a domain
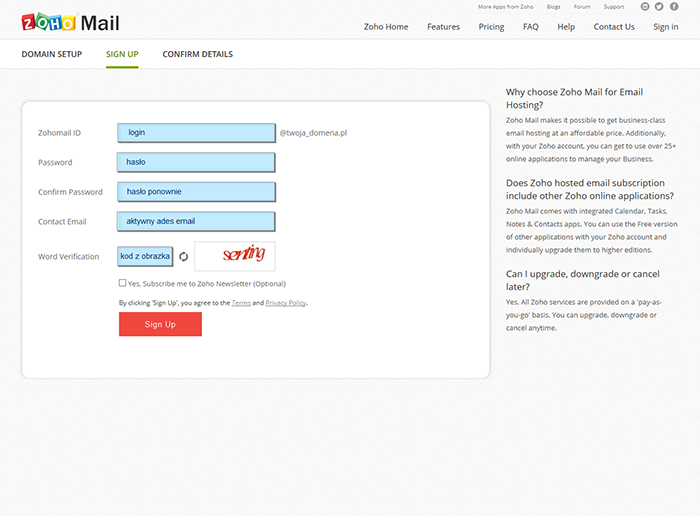
Pic. 4 Third step of registration - filling in a registration form
Provide a login, a password and an active email address to which a confirmation link will be sent. After clicking on Sign Up creating an account will be launched.
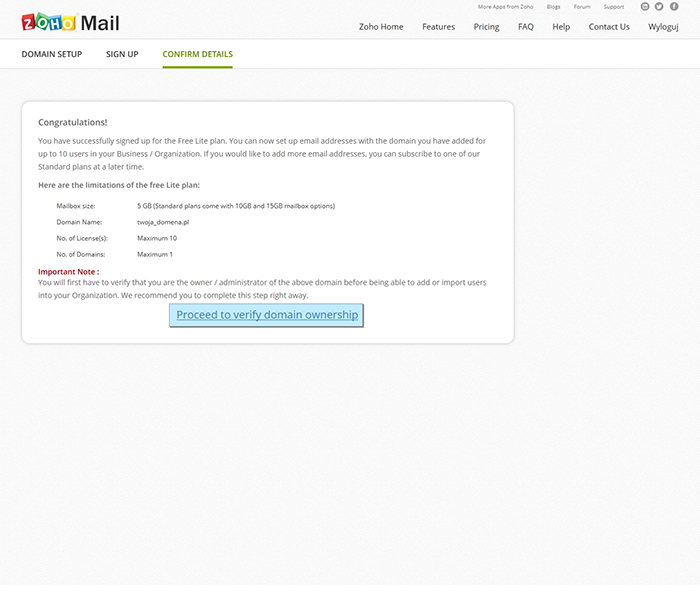
Pic. 5 Fourth step of registration - account confirmation
In order to configure your account further click on Proceed to verify domain ownership
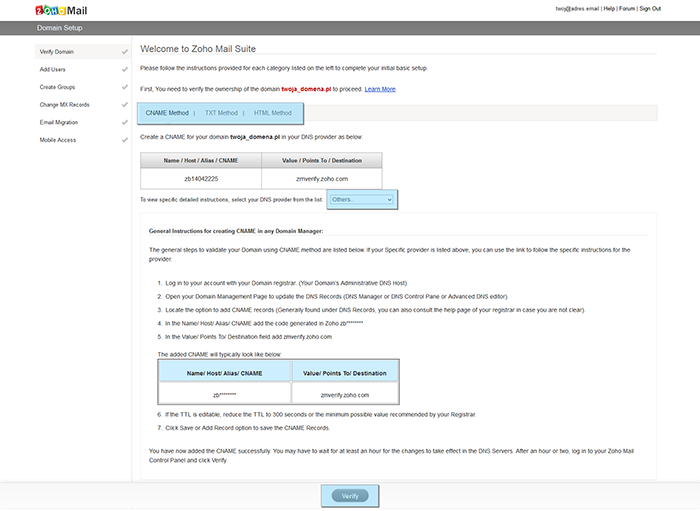
Pic. 6 Fifth step of registration - confirming the domain ownership with CNAME method
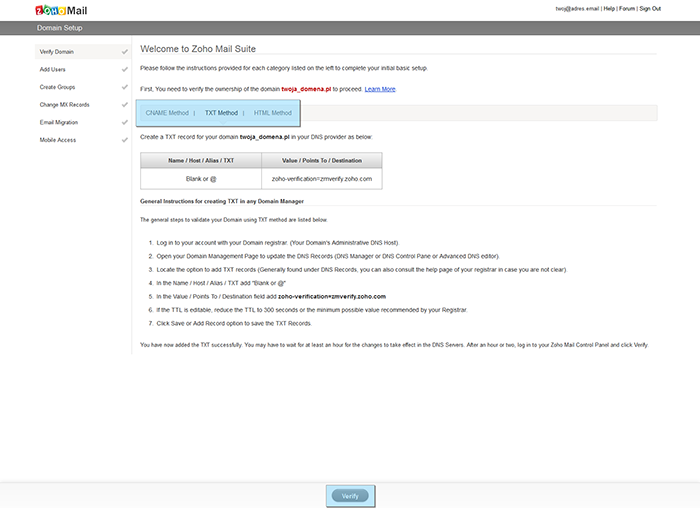
Pic. 7 Fifth step of registration - confirming the domain ownership with TXT method
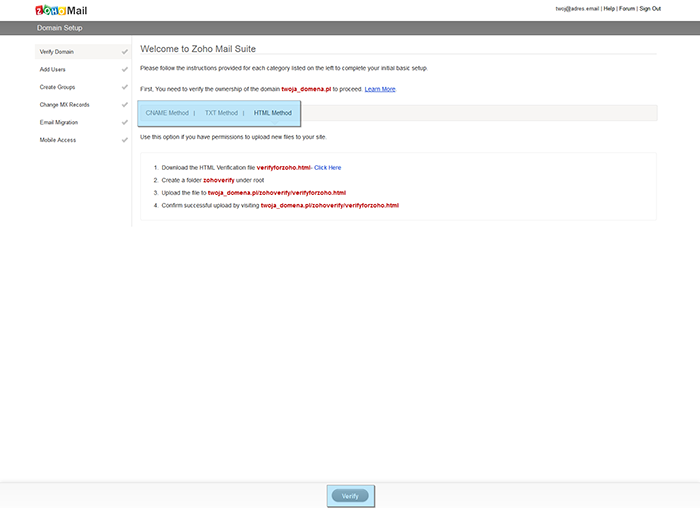
Pic. 8 Fifth step of registration - confirming the domain ownership with HTML method
Select the verification method which is the best for you.
Pic. 9 Sixth step of registration - verification confirmation
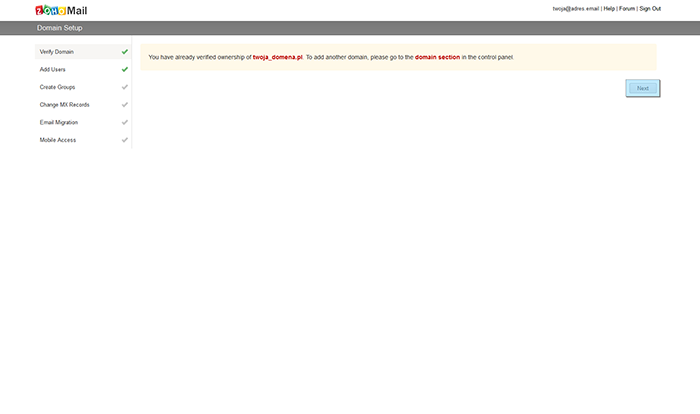
The system will inform about successful verification of your domain and will allow you to select an address for your account. To proceed click on NEXT.
Pic. 10 Seventh step of registration - adding new accounts for the same domain
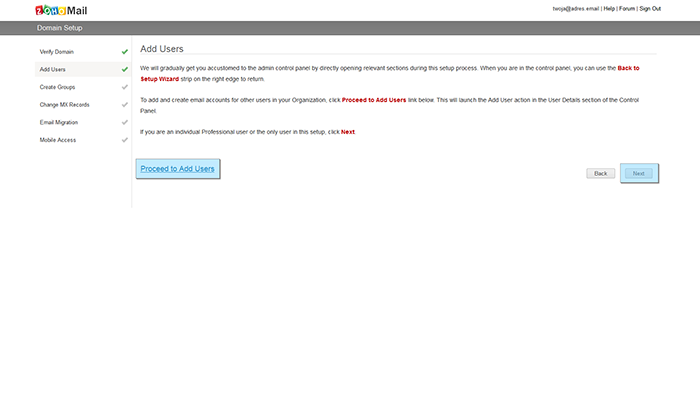
You can Proceed to Add Users in order to manage user accounts (this step can be processed later) or proceed by clicking NEXT to complete the main account configuration.
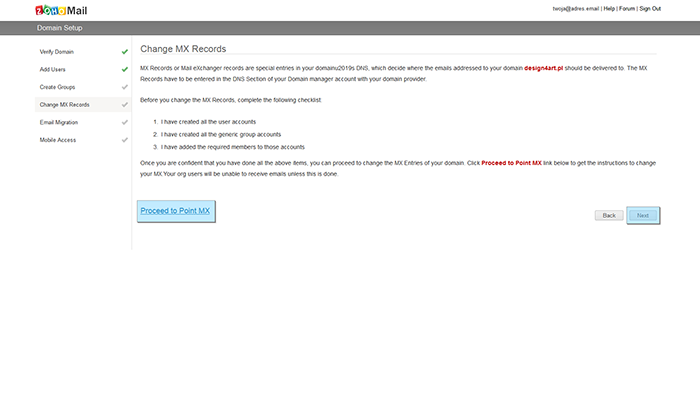
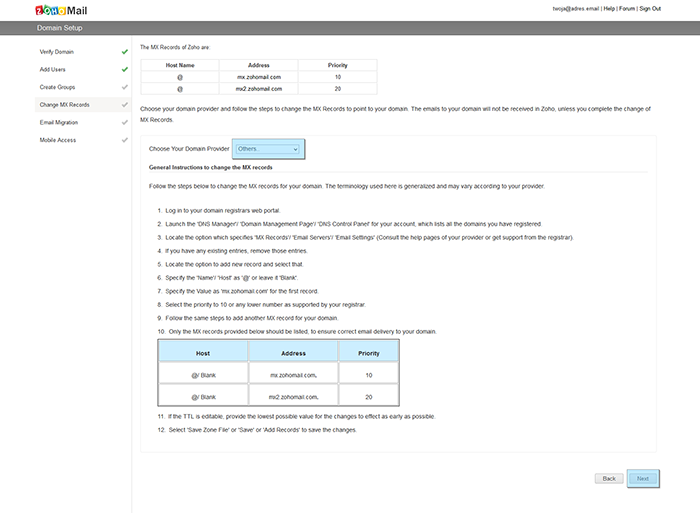
Pic. 11 / Pic. 12 Ninth step of registration - MX records, which should be added to revDNS of the domain, verifcation
Following operations should be processed in your domain configuration:
- If a domain was redirected to an IP address (A record) or a URL address (CNAME record) then the changes should be made in the service where the domain had been registered.
- If a domain was delegated to the panel (delegation to DNS servers) the changes are made in the IdoSell's panel. Go to ADMINISTRATION/ Manage domains and system services / Domain management and afterwards Edit settings of the particular domain. At this point, after enabling Handling e-mails in the domain under E-mails in the domain supported by servers, select the option Other. Afterwards, enter information from the section The MX Records of Zoho are (pic.12) under E-mail provider's server address. To add a second record click on Add another address of mail server operator. When finished click on Save changes.

Pic. 13 Twelfth step of registration - confirmation
To use the administration panel of ZohoMail click on Proceed to Access ZohoMail
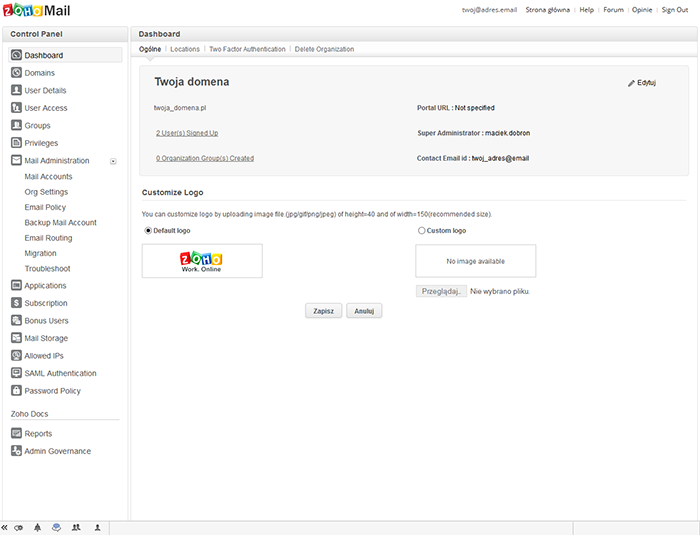
Pic. 14 ZohoMail Main Page
Last step is to create email boxes for the already verified ZohoMail account.
When the email box is created, it should be configured in the IdoSell's panel. To do this go to ADMINISTRATION / E-mail accounts configuration and click on Add new e-mail address.